🚚Worldwide Free Shipping.

🚚All in stock!Will be shipped from overseas warehouse.

Click here to download Engraving Files for free!

ETK Clearance is only available in USA and Europe!

$199.99$179.99

Note:Only include the extension kit,no foldable feet.

Ortur Extension KitOrtur Extension Kit+LEP
  • After-Sales Team

    Professional support

  • Free Engraving Files

    Provide free engraving file 

  • Free Delivery

    Free delivery 

    (Not include tax)

  • Warranty

    1-Year warranty policy

Ortur Extension Kit 

for olm3 (ETK2.0)

This is an accessory not a machine.

Only available for OLM3.

Expand Your Working Area

It can meet the needs of large-scale engraving and cutting, and can process materials in doubled quantities.

High Accuracy and Stability

Adopting durable aluminum alloy material, with the structural design of steel wheel and synchronous Belt, it is stable and accurate even at a working speed of 200mm/s and a large area.

  • Product Services
  • Parcel Details

Technical Specifications

Installation

  • We provide complete videos (machine installation, software use, material download, parameter setting)
  • There is a professional after-sales engineer team in Europe and United States to answer you technical questions.
  • Door-to-door service in Portugal and near Portugal.

24/7 Support Desk

  • You could contact our support team by support@ortur3dprinter.com for any questions!
  • Our engineer will answer you and provide correct solutions in time!
  • Provide with one-year after-sales service, free replacement parts for any problems during the period.

Reasons to buy a laser engraver

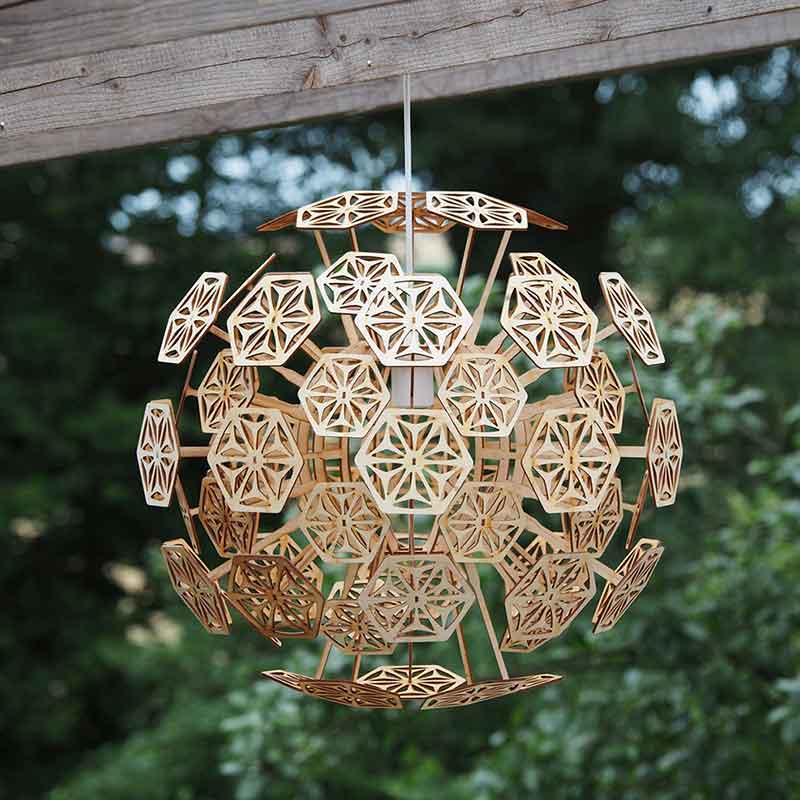
  • Do something different. For example, use an advanced laser engraving machine to engrave your ideas and create your interesting memories. will definitely bring you unprecedented fun and even wealth.
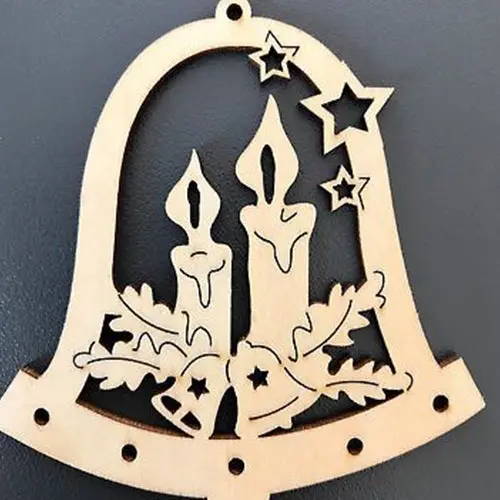
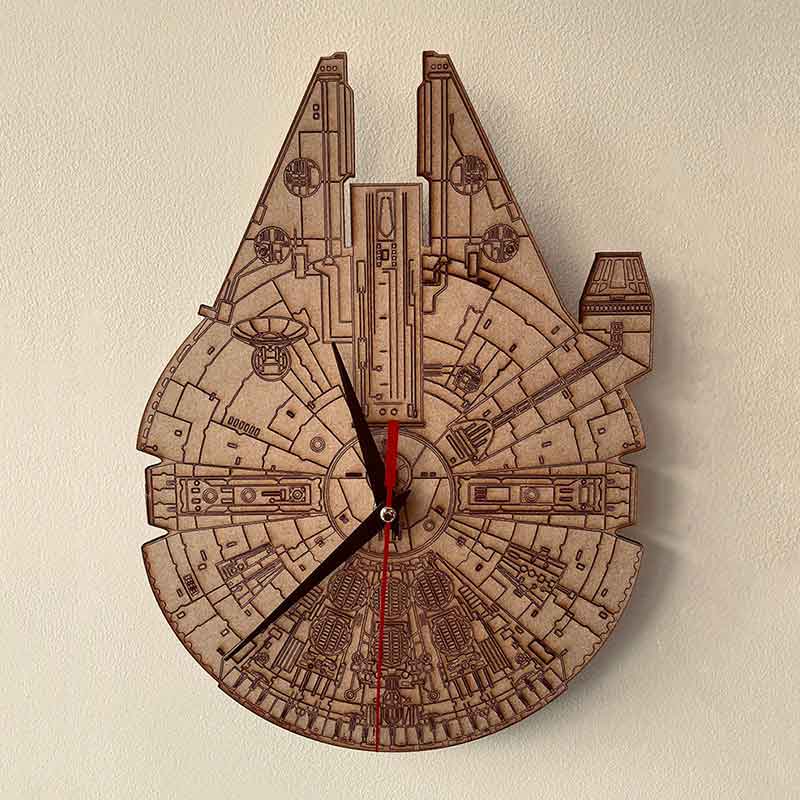
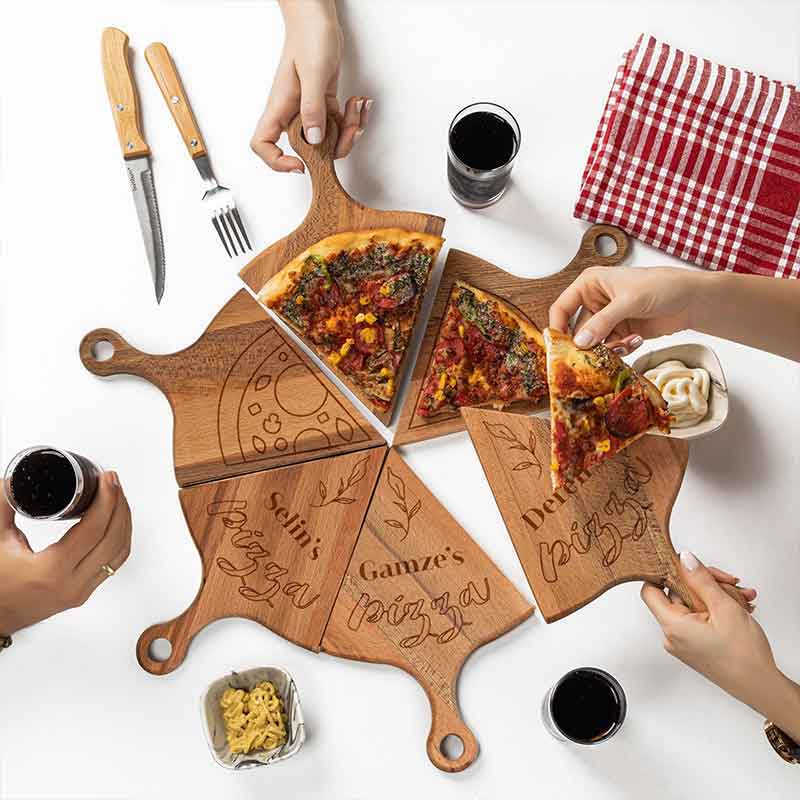
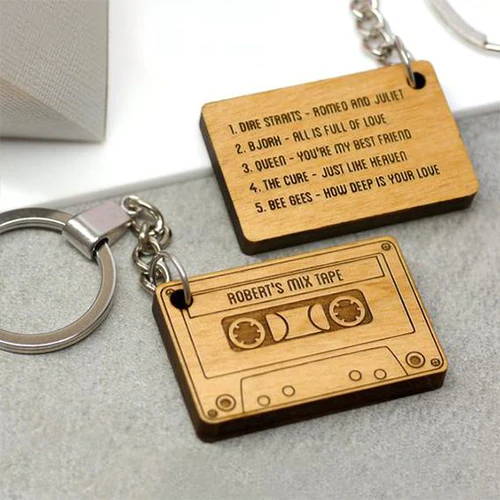
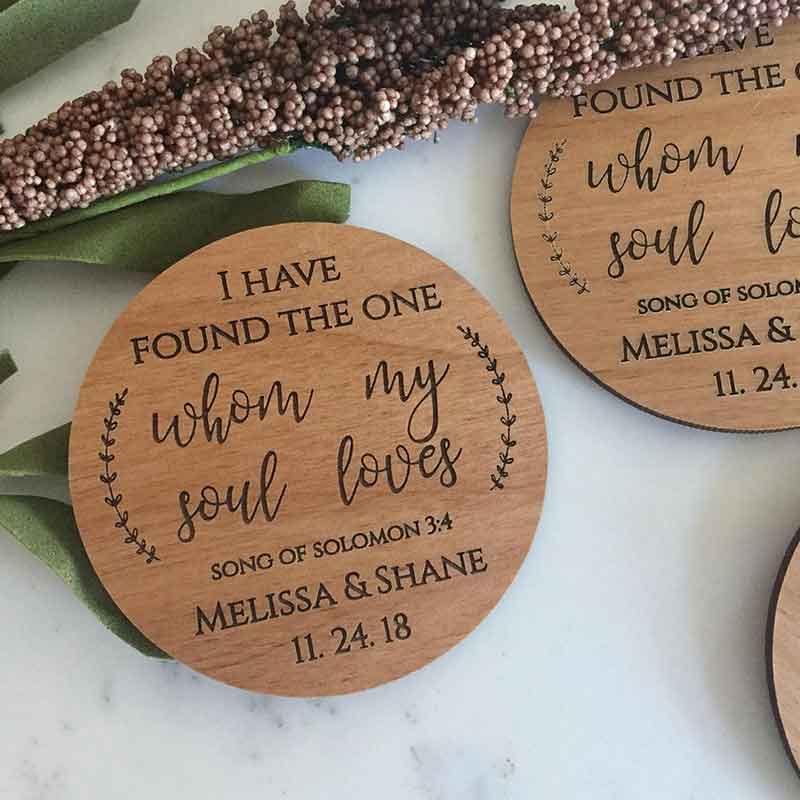
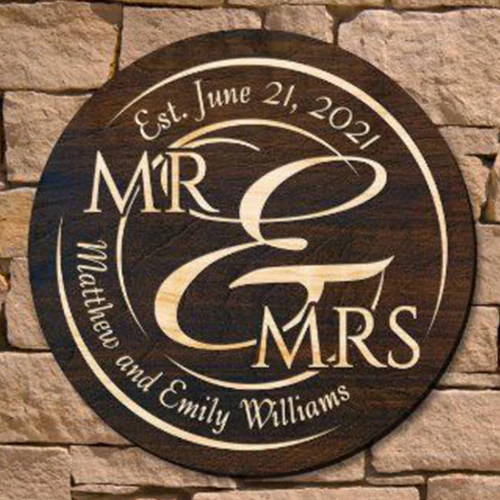
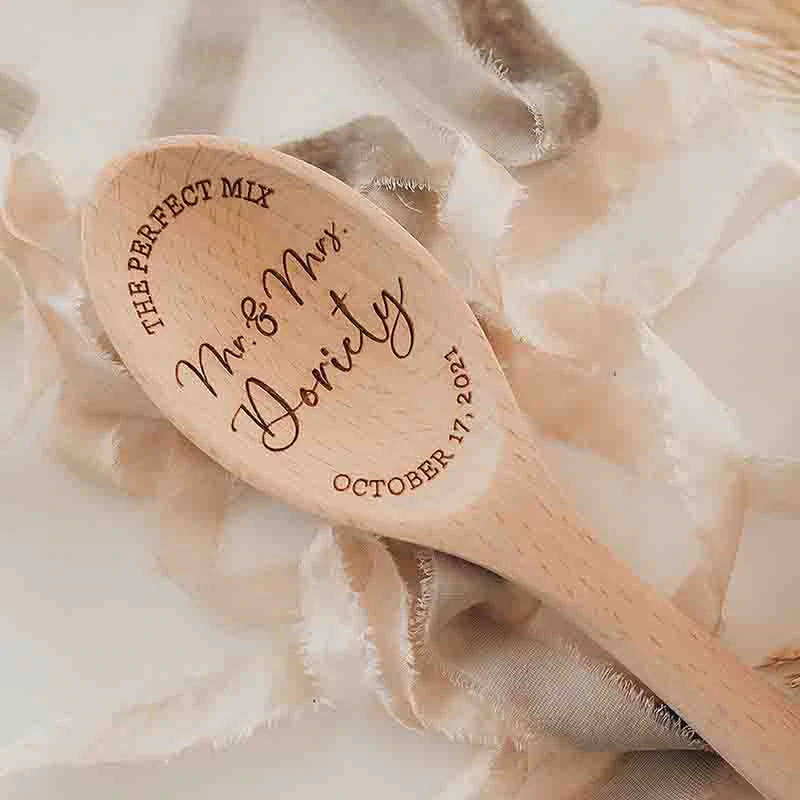
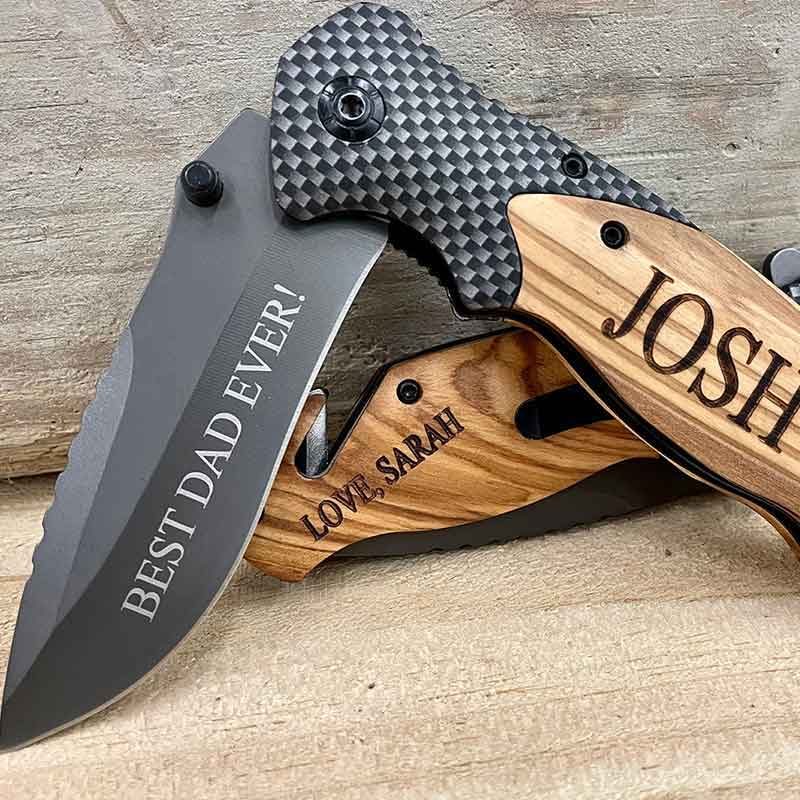
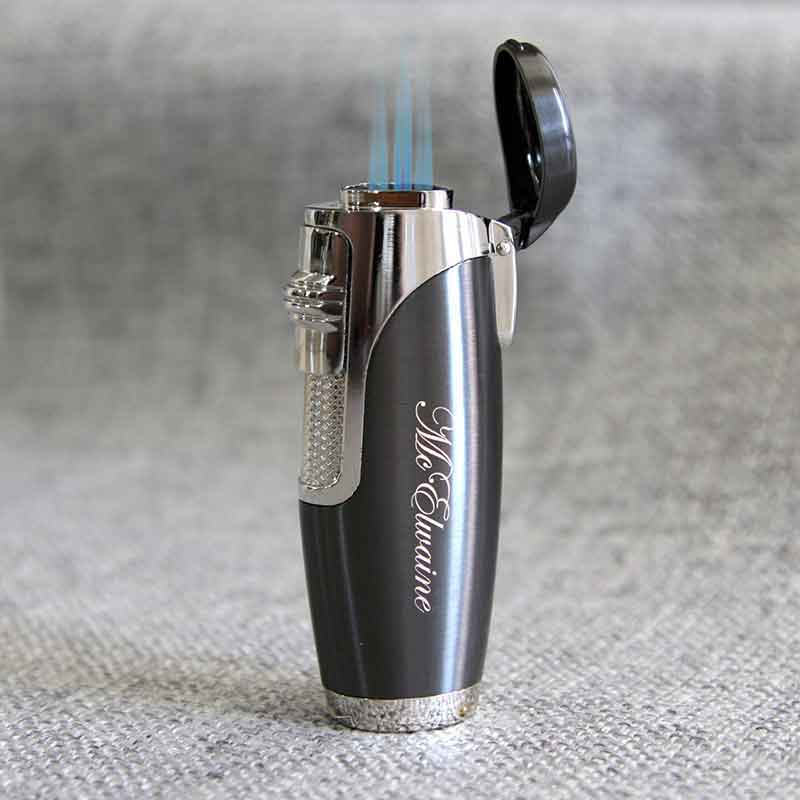
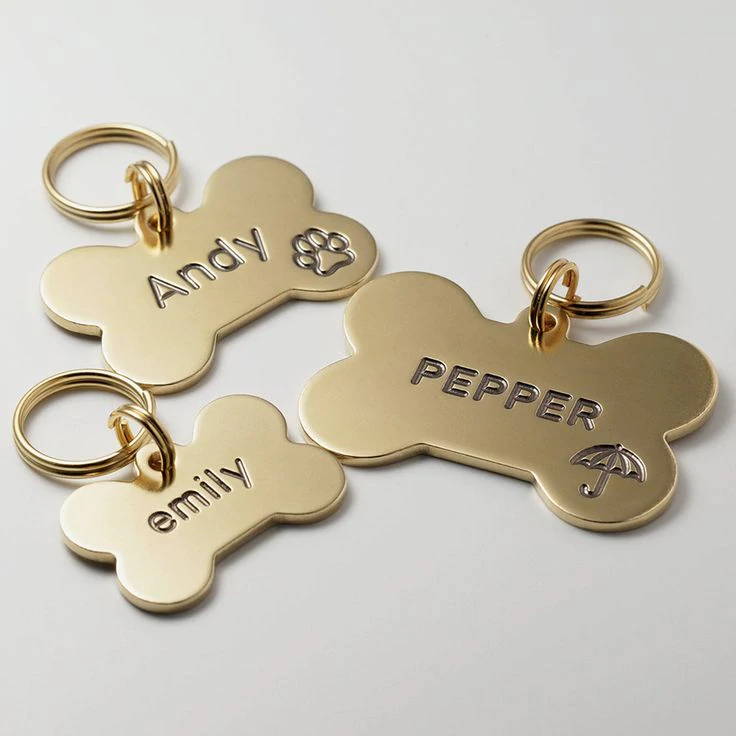
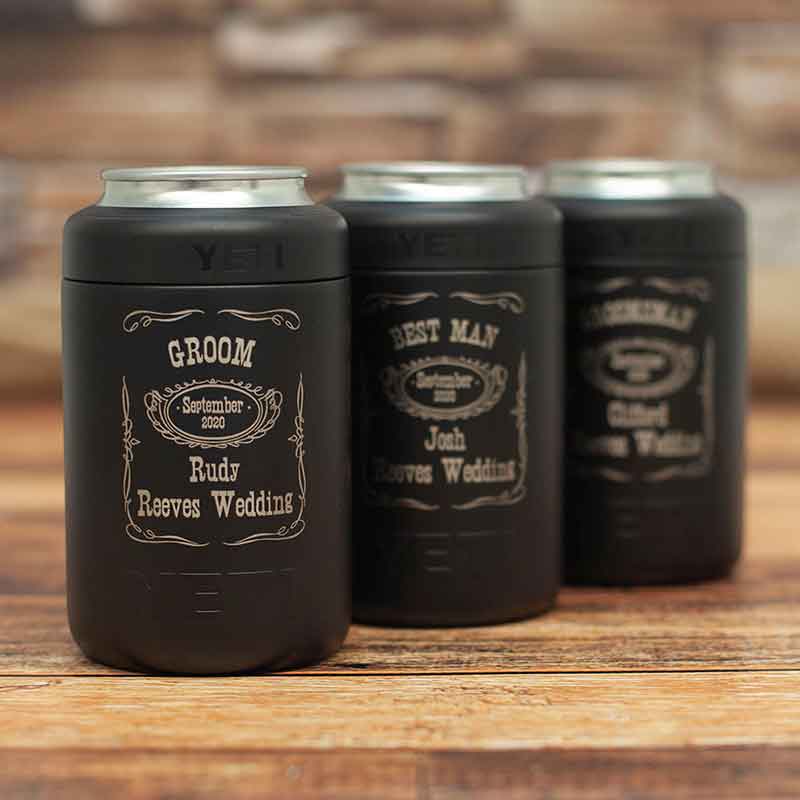
  • You also can make a variety of some exquisite cutting or carving crafts according to different materials. (such as exquisite jewelry, wood carvings and surprise gifts, etc.)
  • A laser engraver is a good investment if you're running a business because it may help you produce more stunning final goods in various materials.

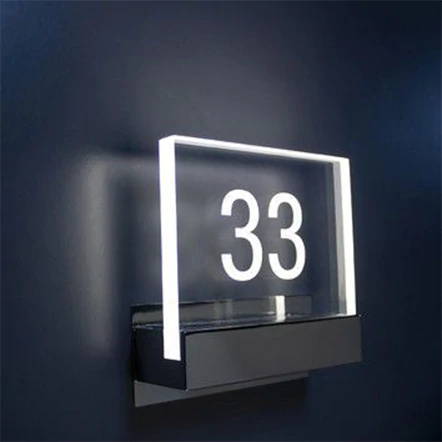
  • Creative Cutting
  • Wood Engraving
  • Metal Engraving
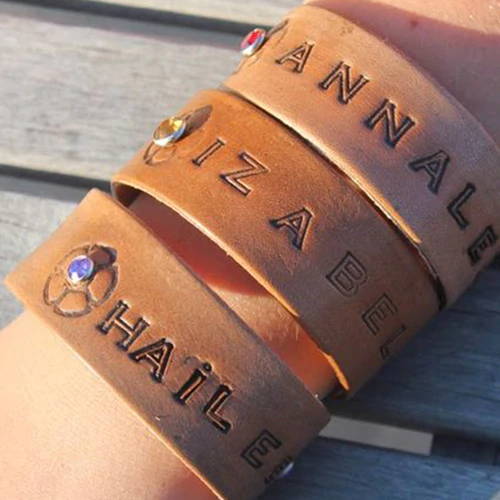
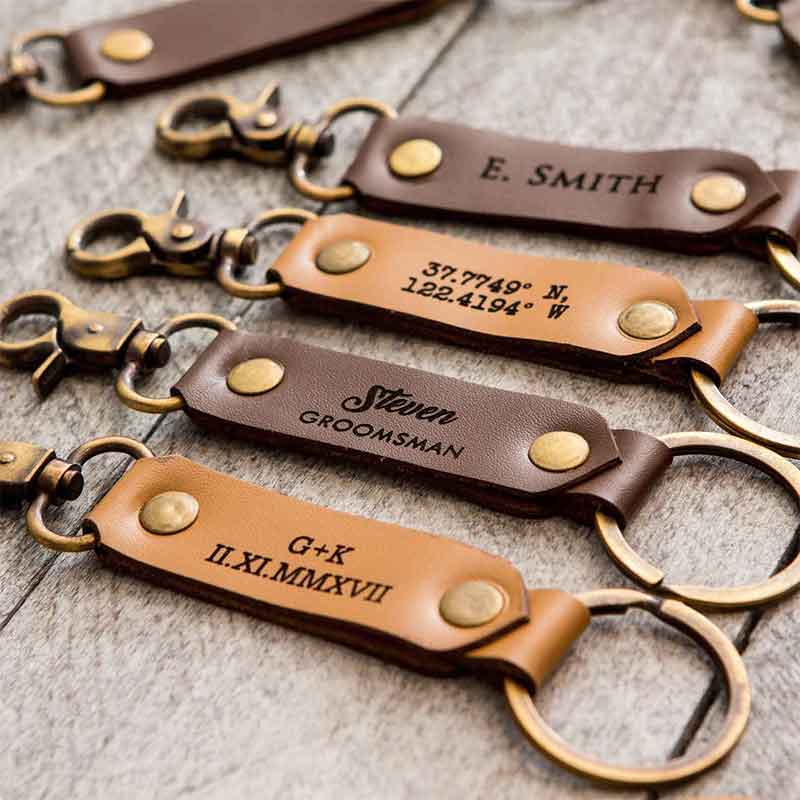
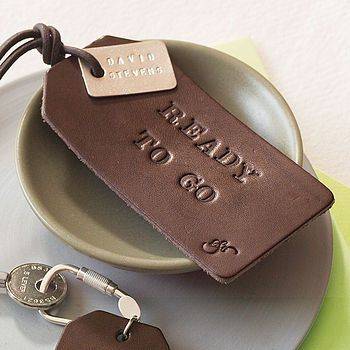
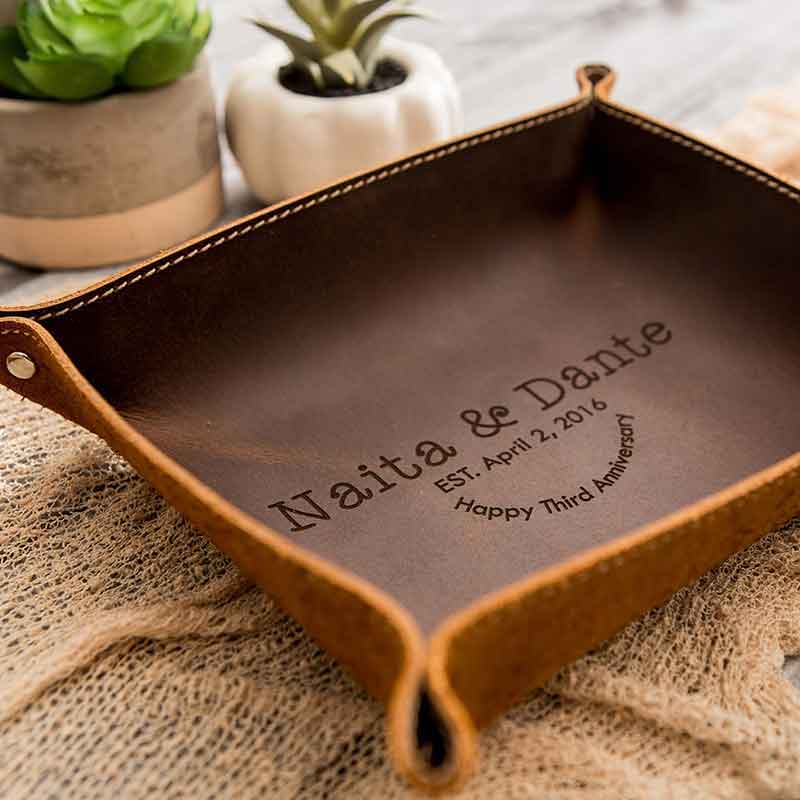
  • Leather Engraving
  • Beauty of Acrylic
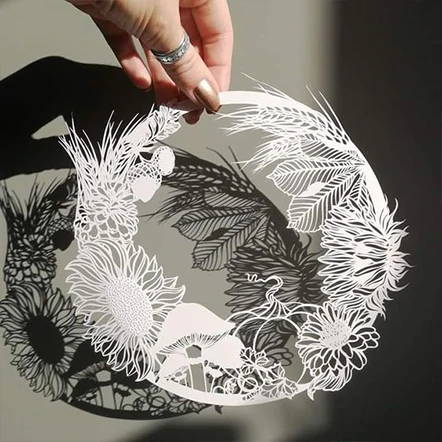
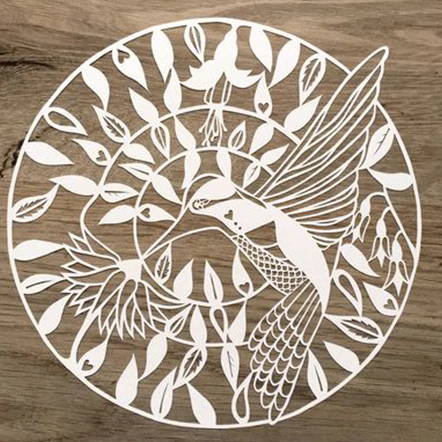
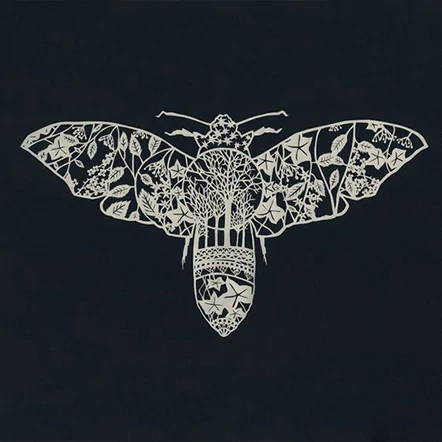
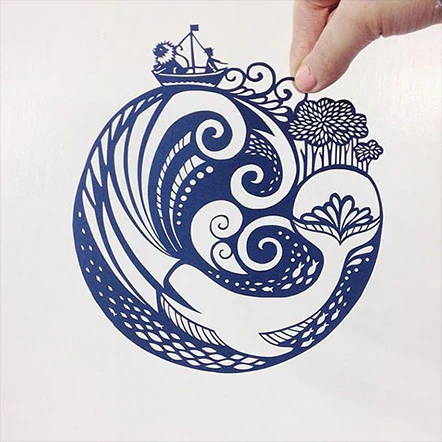
  • Creative Paper Works

Earn money with SINIS

Join  tens of thousands of SINIS influencers who are earning money with the SINIS affiliate program.

enjoy subscribing Customer discount

Want discount for your first order?

Don't miss out the latest news from SINISMALL.

Subscribe us!

You can receive a 5% discount on your first purchase!

Free engraving files are updated for subscribers every month!

Perfect Service System, Let You Easily Become the Master of Laser Engraving Machine

Laser Explorer APP User Manual

  • CONNECT 
  • CONNECT 2
  • ENGRAVING & CUTTING

Mobile phone connected to machine WiFi.
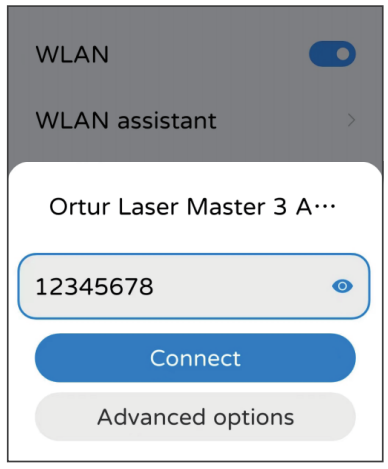
The WiFi name of the machine starts with "Ortur Laser Master 3". WiFi password is "12345678".

Note 1: The mobile phone cannot access the Internet when the machine's WiFi is connected.

Note 2: If there are multiple OLM3s in the power-on state and you can't tell the name of the machine's WiFi, please enter the code "$310" in the console of the control software of the computer, and click Enter to view the name of the WiFi.

Click the options in the red box in order from left to right.

Note : The correct laser module must be selected!

The phone and the machine are in the same local area network.
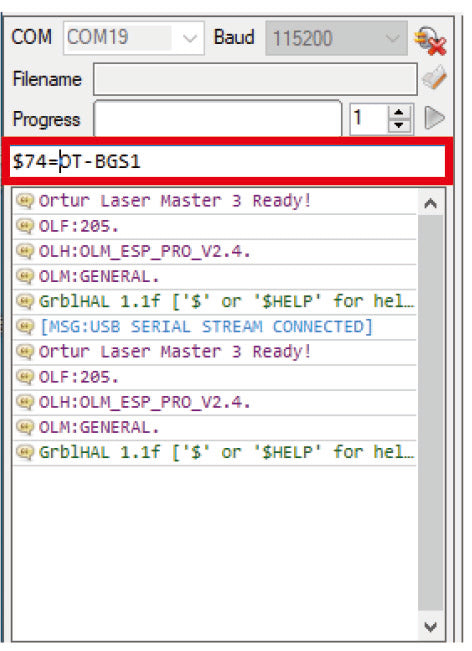
1. Connect the machine to LaserGRBL, enter "$74=WiFi name" in the red box, and then click Enter.
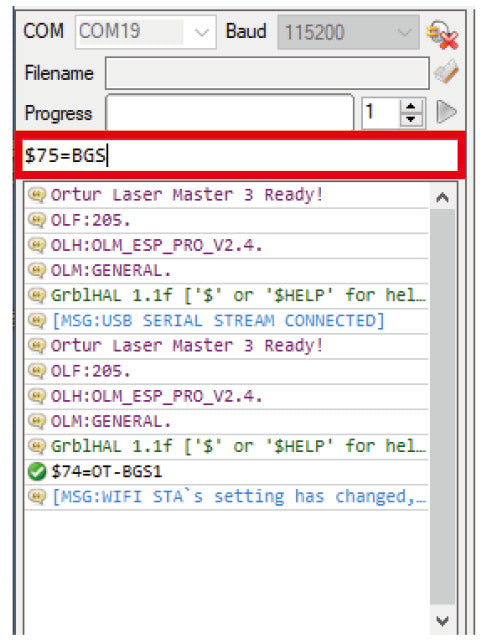
2. Enter "$75=WiFi password" in the red box, then click Enter.
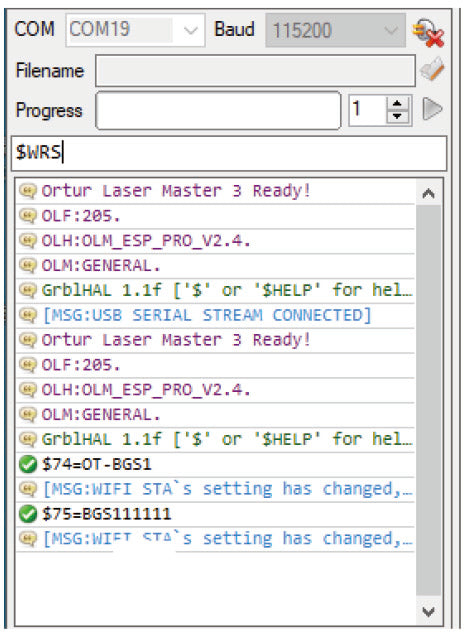
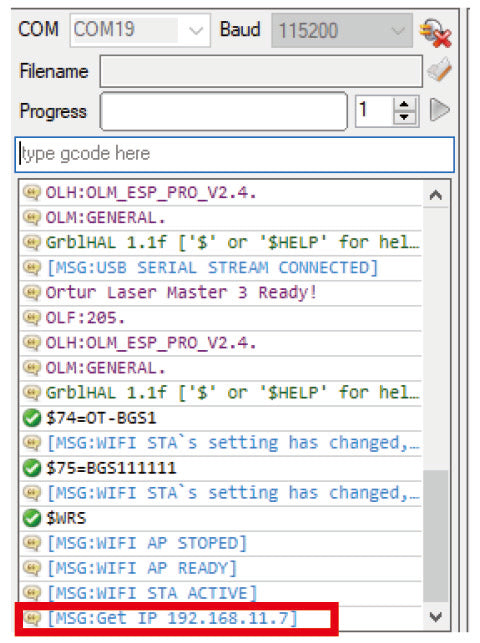
3. Enter "$WRS" in the red box, then click Enter.
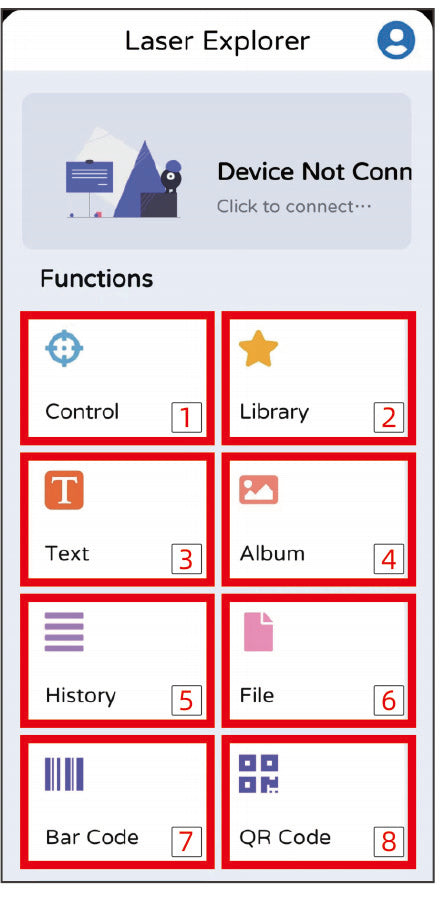
1. Control (Control the movement of the machine)
2.Library (software comes with images to choose from)
3.Text (software comes with a text editor)
4.Album (can view and select images in the phone album)
5.History (used data can be called directly)
6.File (can read engraving file)
7.Bar Code (software comes with barcode editor)
8. QR Code (the software comes with a QR code editor)
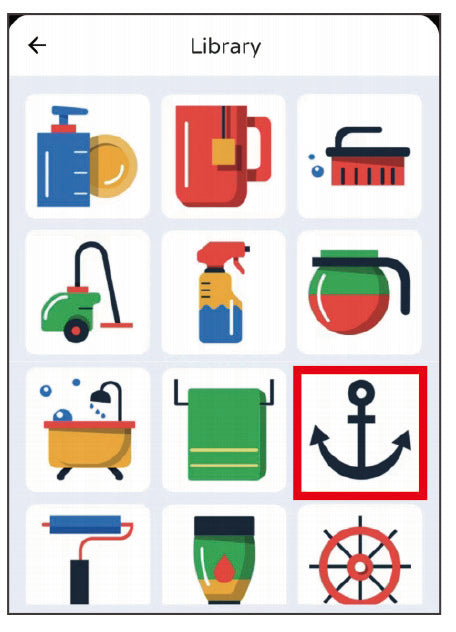
Choose an image arbitrarily.
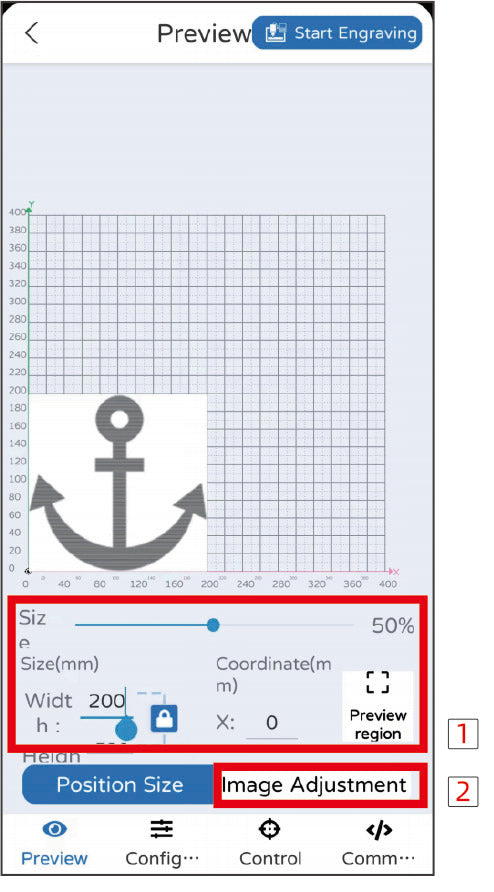
1. By modifying the parameters in the red box, you can change the size and position of the image, as well as the engraving range of the preview image.

2.Modify the parameters in the red box to change the brightness, contrast and black and white limits of the image.

Note: The parameters are for learning reference only, and the actual use will be affected by factors such as material and thickness! Please do more tests according to the actual situation!
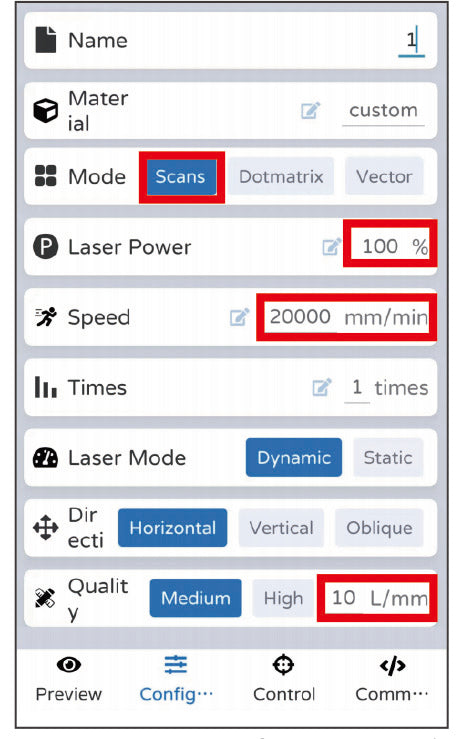
Engraving & Cutting with the web controller 

  • connecting
  • ggode files
  • engraving or cutting
  • 1
  • 2

The machine is connected to the network (must be in the same LAN as the computer)

1. Connect the machine to LaserGRBL, enter "$74=WiFi name" in the red box, and then click Enter.

2. Enter "$75=WiFi password" in the red box, then click Enter.

3. Enter "$WRS" in the red box, then click Enter.

4. The IP of the machine in the LAN.

The phone and the machine are in the same local area network.

1. Open a browser, enter the IP address of the machine, and hit enter.
2.Enter "admin" for the user and password to enter the operation interface.

1. After setting the parameters in the software, click "File" → "Quick Save".

2. Click "Save".

1. Click the button inside the red box to open the saved Ggode file.

2.Click "Open".

Please wait patiently until the file is loaded.

engraving & cutting with LaserGRBL

  • 1.Connect
  • 2.Unlock
  • 3.Engraving
  • 4.Cutting

Click the button in the red box to connect the software to the machine.

Click the button in the red box to unlock the grey buttons.


1. Click the "Import" button
2. Select the engraving image
3. Click "Open"

4. Brightness, contrast, black and white limit adjustment
5. Select "Line to Line Trace"
6. The quality is modified to 10Lines/mm
7. Click "Next"

8. The Engraving Speed is modified to 20000mm/min
9. Select "M4-Dynamic Power" for laser mode
10. S-MAX 1000
11. The size can be modified according to your needs
12. Click "Create"

Note: The engraving parameters are only for learning and reference, and the actual use will be affected by factors such as materials and engraving images!
Click the button in the red box to view the engraving range, and then adjust the position according to the engraving range.

1. Select "Vectorize"
2. Click "Next"

3. The Border Speed is modified to 100mm/min
4. Select "M3-Constant Power" for laser mode
5. S-MAX 1000
6. The size can be modified according to your needs
7. Click "Create"

Note 1: The cutting parameters are for learning and reference only, and the actual use will be affected by factors such as material and thickness!

Note 2: The same material, such as wood, will have different effects due to different tree ages and resins. In order to achieve the best results, multiple attempts are required!

Click the button in the red box to view the engraving range, and then adjust the position according to the engraving range.

engraving & cutting with Lightburn

  • 1.Connect
  • 2.Engraving
  • 3.Cutting

Click the "Create Manually".

Click the "GRBL", then click "Next".

Click the "Serial/USB", then click "Next".

Modify "X Axis Length" and "Y Axis Length" to 400mm.

Select the origin "Front Left", turn on the machine and it will auto home, then click "Next".

Click the "Finish".

Click the "OK"

Select "COM19".

 Connection succeeded.

Click the button in the red box to connect the software to the machine.

Click the "Open" button.

Select the engraving image, then click "Open".

1. Click the "Cuts / Layers".
2. Modify the speed to 20000, "Pass Count" to 1, and "Power Max" to 100.
(Note that the unit is mm/m)

Note: The engraving parameters are only for learning and reference, and the actual use will be affected by factors such as materials and engraving images!

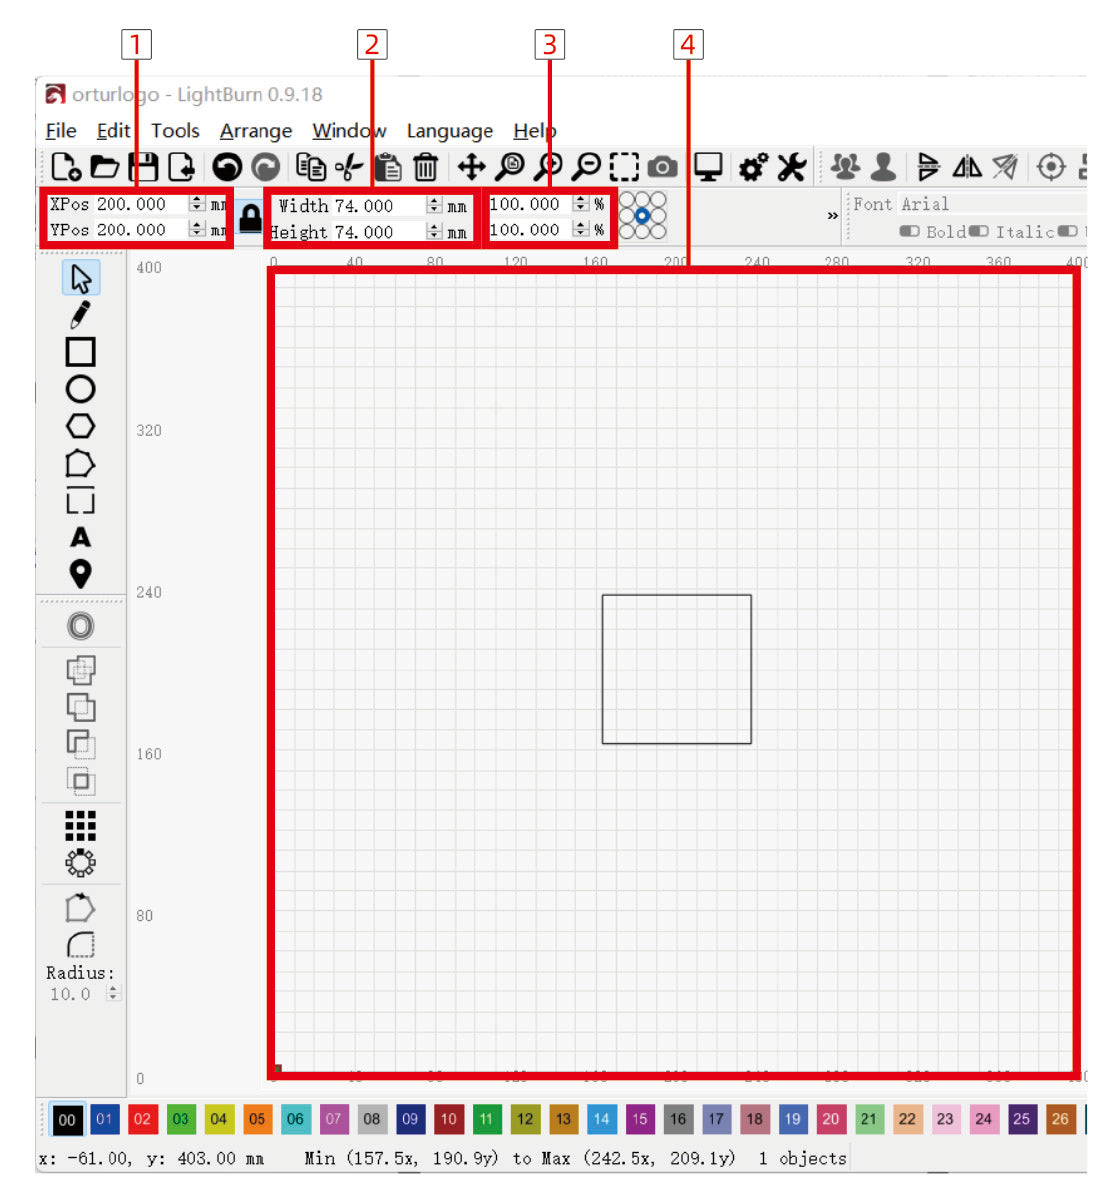
1. The coordinates of the center point of the engraving range
2. Engraving image size
3. Engraving image size ratio
4. The effective engraving range of the machine

You can draw lines using the tools included with the software, or import an existing line file.

The cut image must be lines!

Modify the speed to 100, "Pass Count" to 1, and "Power Max" to 100.
(Note that the unit is mm/m)

1. The coordinates of the center point of the engraving range
2. Engraving image size
3. Engraving image size ratio
4. The effective engraving range of the machine

Click the button in the red box to start cutting.

Click here to learn more: Web UI operation tutorial

FIND YOUR ANSWERS HERE

FREQUENTLY ASKED QUESTIONS

What kind of material can be engraved?

Wood, acrylic, bamboo, cloth (not cotton, canvas works best), leather, kraft paper, hard plastic, black lacquered metal/ceramic/stone, glass (need to be blacked out), food

What kind of material can be cut? How much is the thickness?

Cardboard, Felt, Stickers, Wood, Acrylic, Bamboo, Cloth, Kraft, Hard Plastic, Leather.

Maximum cutting thickness: black acrylic( 12mm) wood board(20mm).Both of them require multiple engravings.

Can the PCB board be cut?

Yes, the ORTUR laser can cut PCB boards made of acetate. preferably black or green

How to use laser to cut mirror acrylic? is it possible

You can cut opaque mirrored acrylic. Transparent materials cannot be cut and can only be engraved after blackening

Can it engrave metal and stainless steel?

It can engrave the metal after electroplating or spraying (for coating or oxide layer), stainless steel (the effect of stainless steel is better after blackening, note: not etching, but discoloration)

Can it engrave the glass?

The laser can engrave on the glass surface, but the engraving depth is not deep and cannot be cut. Glass engraving is usually difficult to control. You can make a smoother frosted surface by following the steps below: Paste thermal paper on the area to be engraved, and place it on the engraved area to flatten it without wrinkles. Put the glass in the engraving machine to engrave, then remove the glass, tear off the thermal paper, and clean the glass surface. There are other ways to engrave glass on YOUTUBE, such as first layer paint engraving and then wipe off, the engraving effect is very good.

How to choose laser modules?

LU2-2 Electric Power: 7W, Optical Power: 1,000-1,600mW More suitable for novice engraving.
Both long and short focal lengths can be cut and engraved.
However, the LU2-4 LF telephoto has a longer beam waist and higher energy density. On the basis of balance, it is more inclined to cutting, and the maximum cutting is 9MM plywood (LF gas nozzle is equipped, the cut surface is smooth, and there will be no black edges)
The focus of the LU2-4 SF short focus is smaller, and on a balanced basis, it is more inclined to engraving, especially hard materials such as stainless steel.
And an external acrylic laser protective cover, physical protection of laser radiation, you can observe the engraving without laser goggles.
Q2: Are laser engraver suitable for round cutting accessories like electric models?about $54.99?
Yes, they can install that roller. The specific method is to connect the roller to the Y-axis terminal of the motherboard. If the rollers are too high, you can add foot pads.
Q3: Equipped with 5.5W laser head, right? Can I buy and install a second, more powerful laser for this machine?
Yes, with 5.5W-10W laser module.
Replacing the laser head is no problem. Later, we will launch a compatible higher power laser head, you can directly purchase and install it.
Q4: What is the output optical power of the SF LF laser?
Both are about 5.5W, and the maximum power of the whole machine (including the motherboard and motor) is 40W.

Can't find an answer to your question?

Whatsapp:+8616670494147  or email us at support@sinismall.com

Have problems about machines using?

Email address*

Your question*

Subscribe us

Want discount for your order?

Enter your email below

and remember to click subscribe us in your Email

you can enjoy the 5% discount for your first purchase!

Free engraving files are updated to you every month!